|
|
|||
| The Fischer-Backus Way | How
we build cables…..
|
Historic Equivalents | ||||
 |
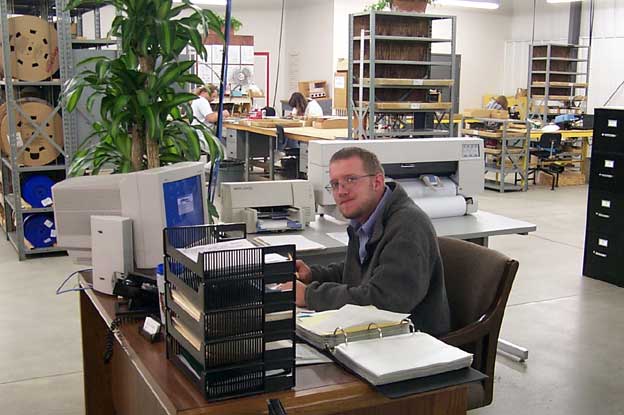
1. We make all sorts of assemblies--each one has an engineering control drawing that ensures consistent quality. So, the first step in building a cable is for our customer service department to locate the drawing. ...click any image to display a larger image... |
 |
||||
 |
2. Since we’re a job shop, everything we build is custom. Engineering produces a standard router -- which is a document we use to control the flow of the cable through our shop. (Router.pdf) | 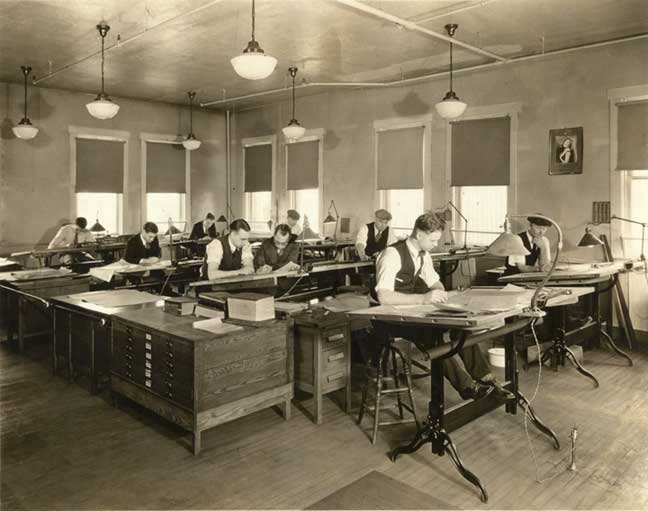 |
||||
 |
3. A bill of materials is generated from the control drawing and sent to the stockroom where all the non-wire components are taken from inventory and bagged for production. |
|||||
 |
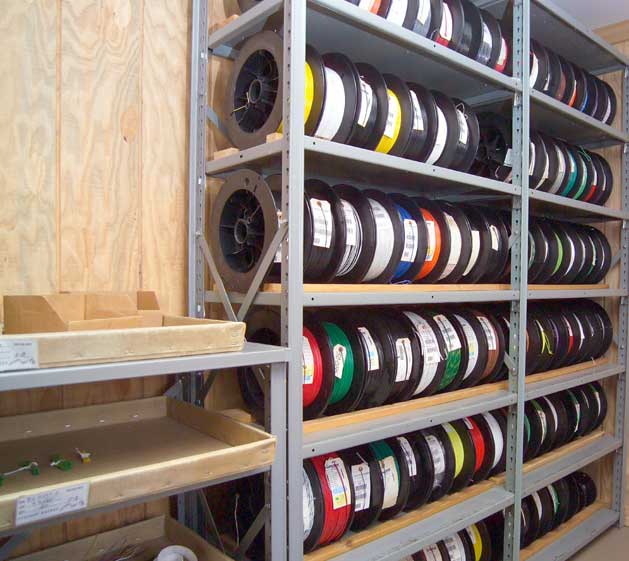
4. Next, we must pull the required wire lengths from our large stock of cable. | 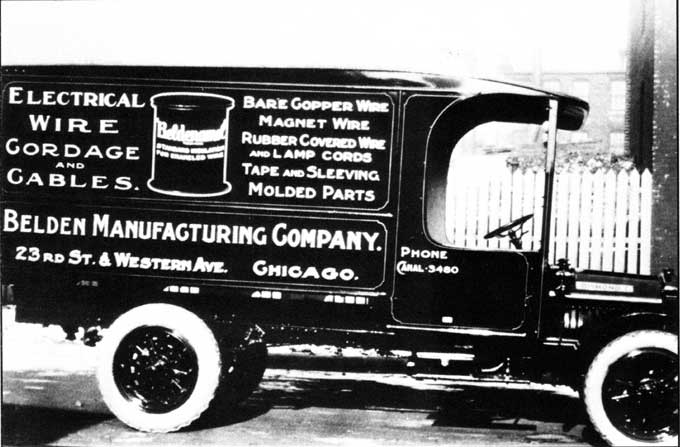 |
||||
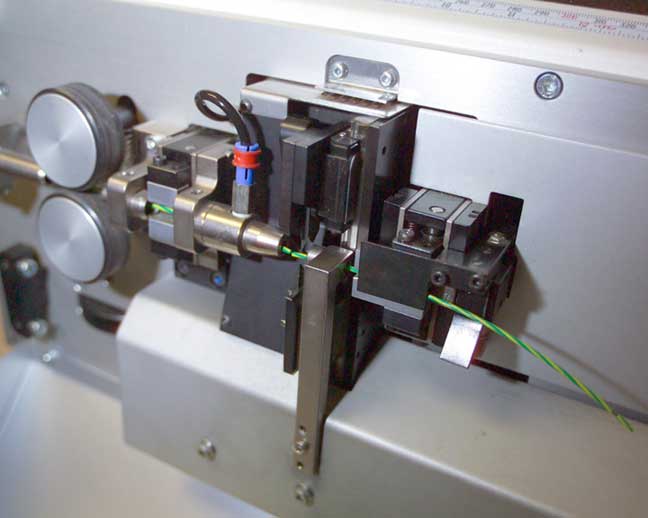 |
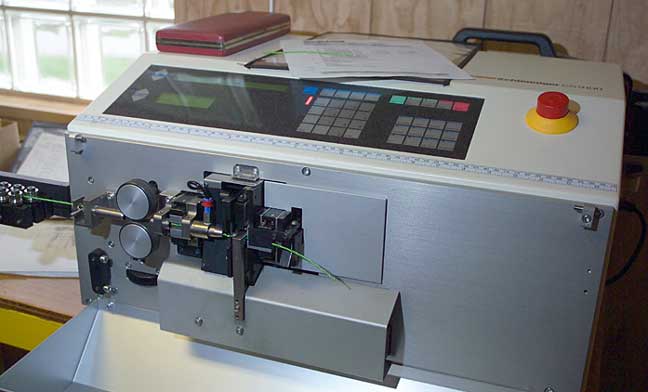
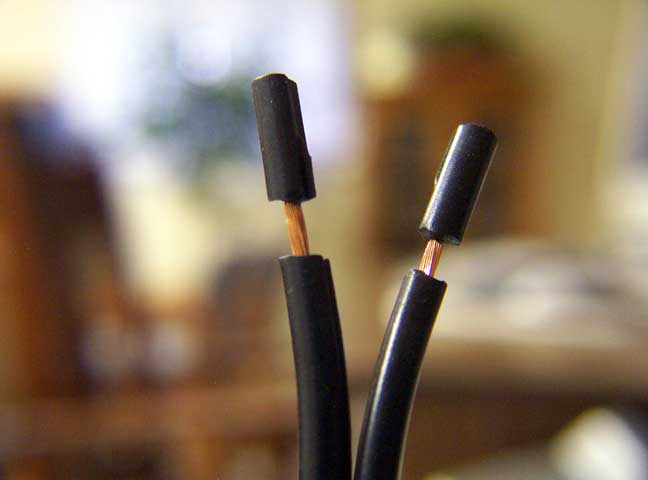
5. If a harness is being built, the individual wires need to be cut and stripped. (92-0006.pdf, 92-0007.pdf, 92-0008.pdf)
|
|||||
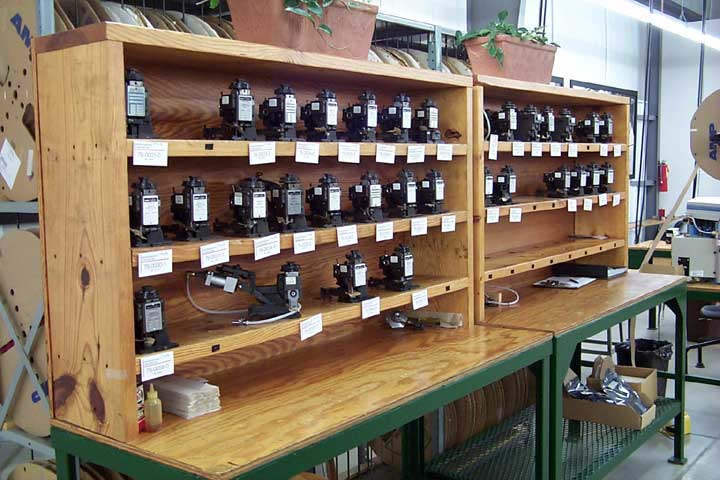 |
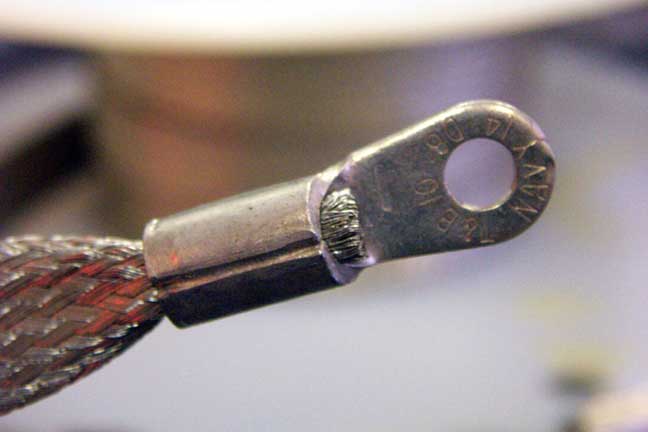
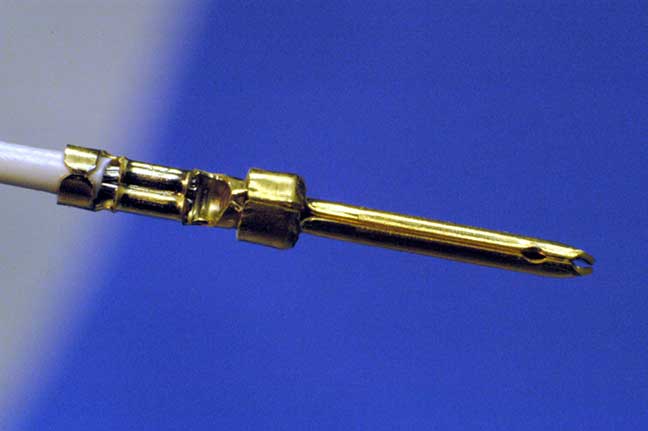
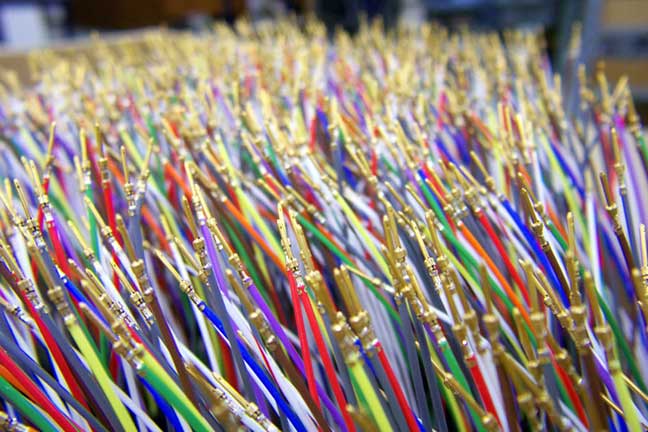
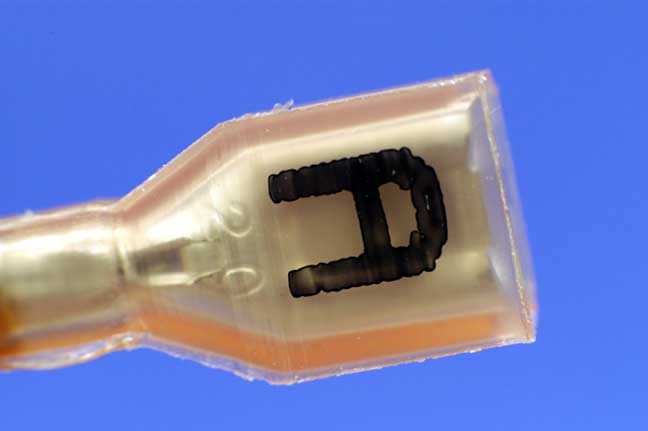
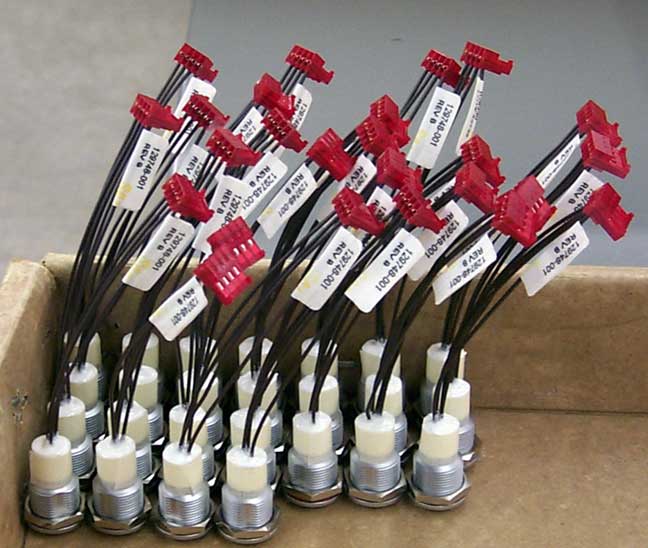
6. Terminals are applied in our presses…. Each terminal requires it’s own set of tooling. Click on the photos below to see the super-enlarged view showing the detail of our work.
|
 |
||||
 (click image to see the movie) |
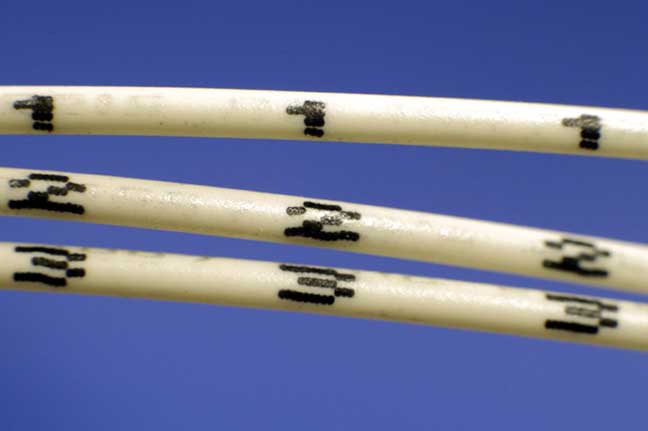
7.
We use
an inkjet printer, specially adapted to print very small characters, to
label the cable assemblies. (inkjet.mov)
|
|||||
 |
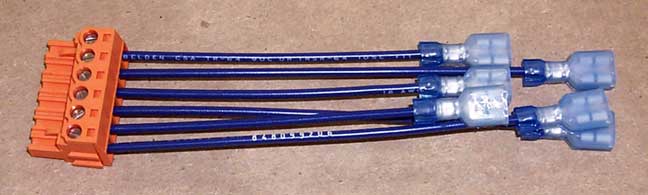
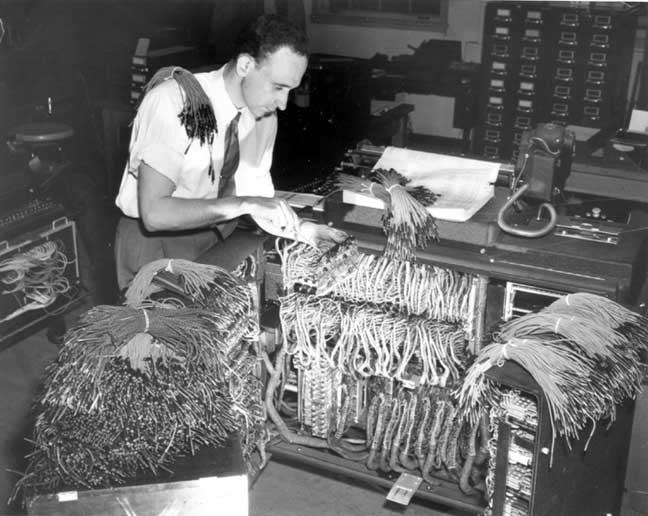
8. When the parts are ready for final assembly, the connectors are installed, wires are laced, and final test is performed.
|
 (our first aseembly testing station--in the 80s--we used a TRS-80 computer!) |
||||
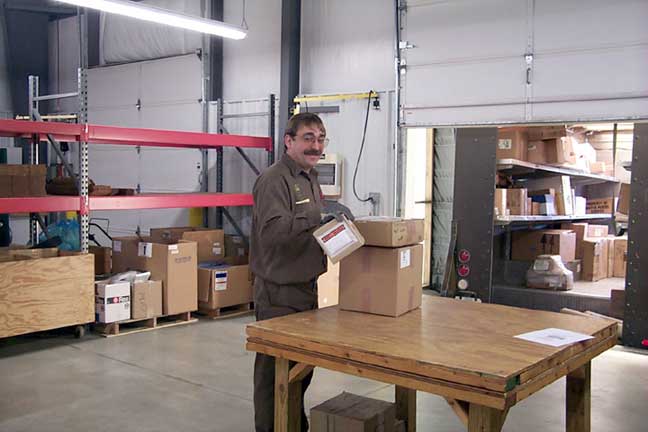 |
9. Everything is ready to go into the box at the shipping department. |